Testing out Benefit's new BADgal BANG! Volumizing Mascara (with before & after photos)
I've been waiting (impatiently) to run out of my old mascara before diving into Benefit's new BADgal BANG! Volumizing Mascara.
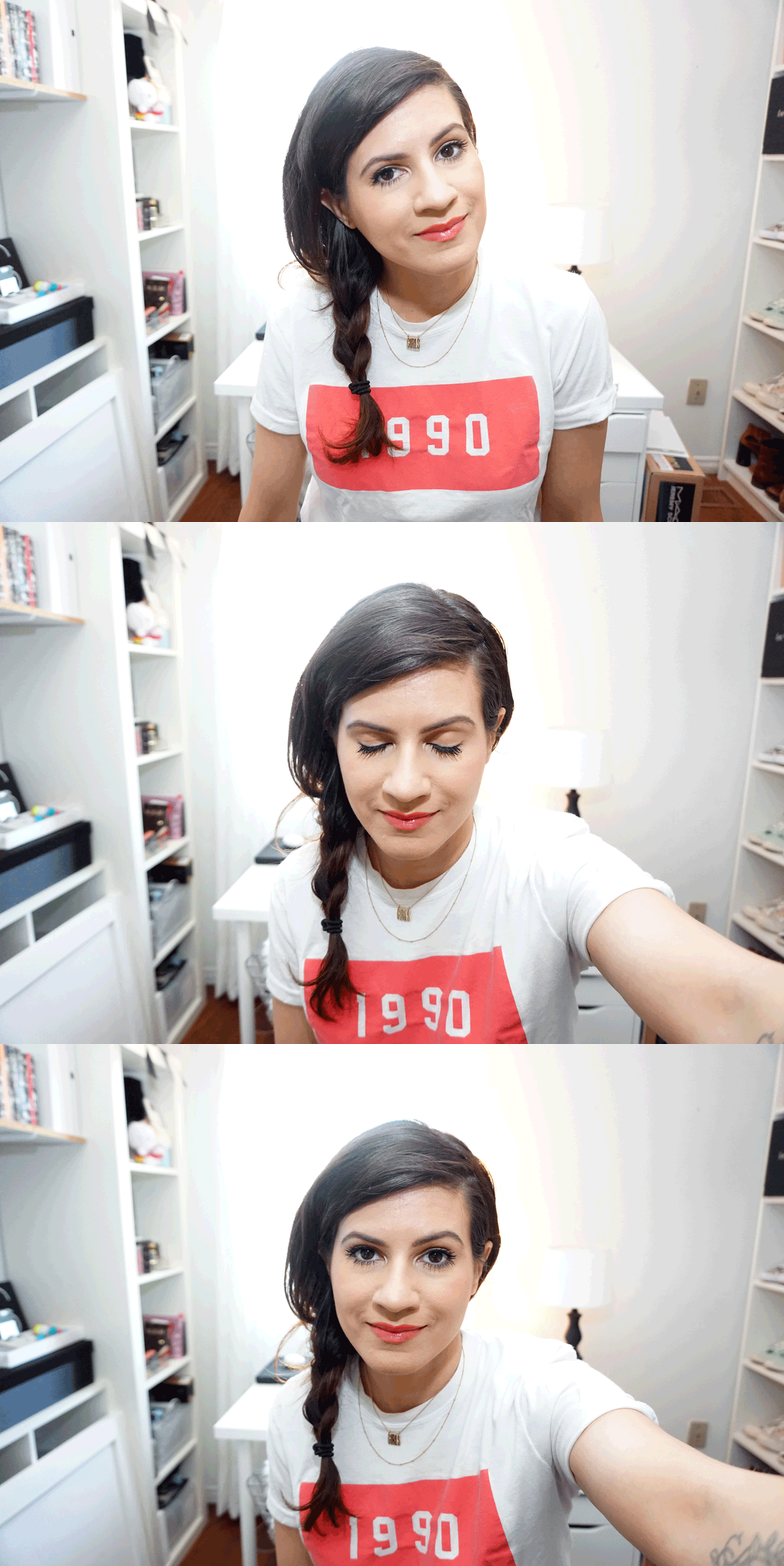
Having already seen some before and afters on IG, I knew I wanted to share my own B&A with you guys here to see if these claims were legit.
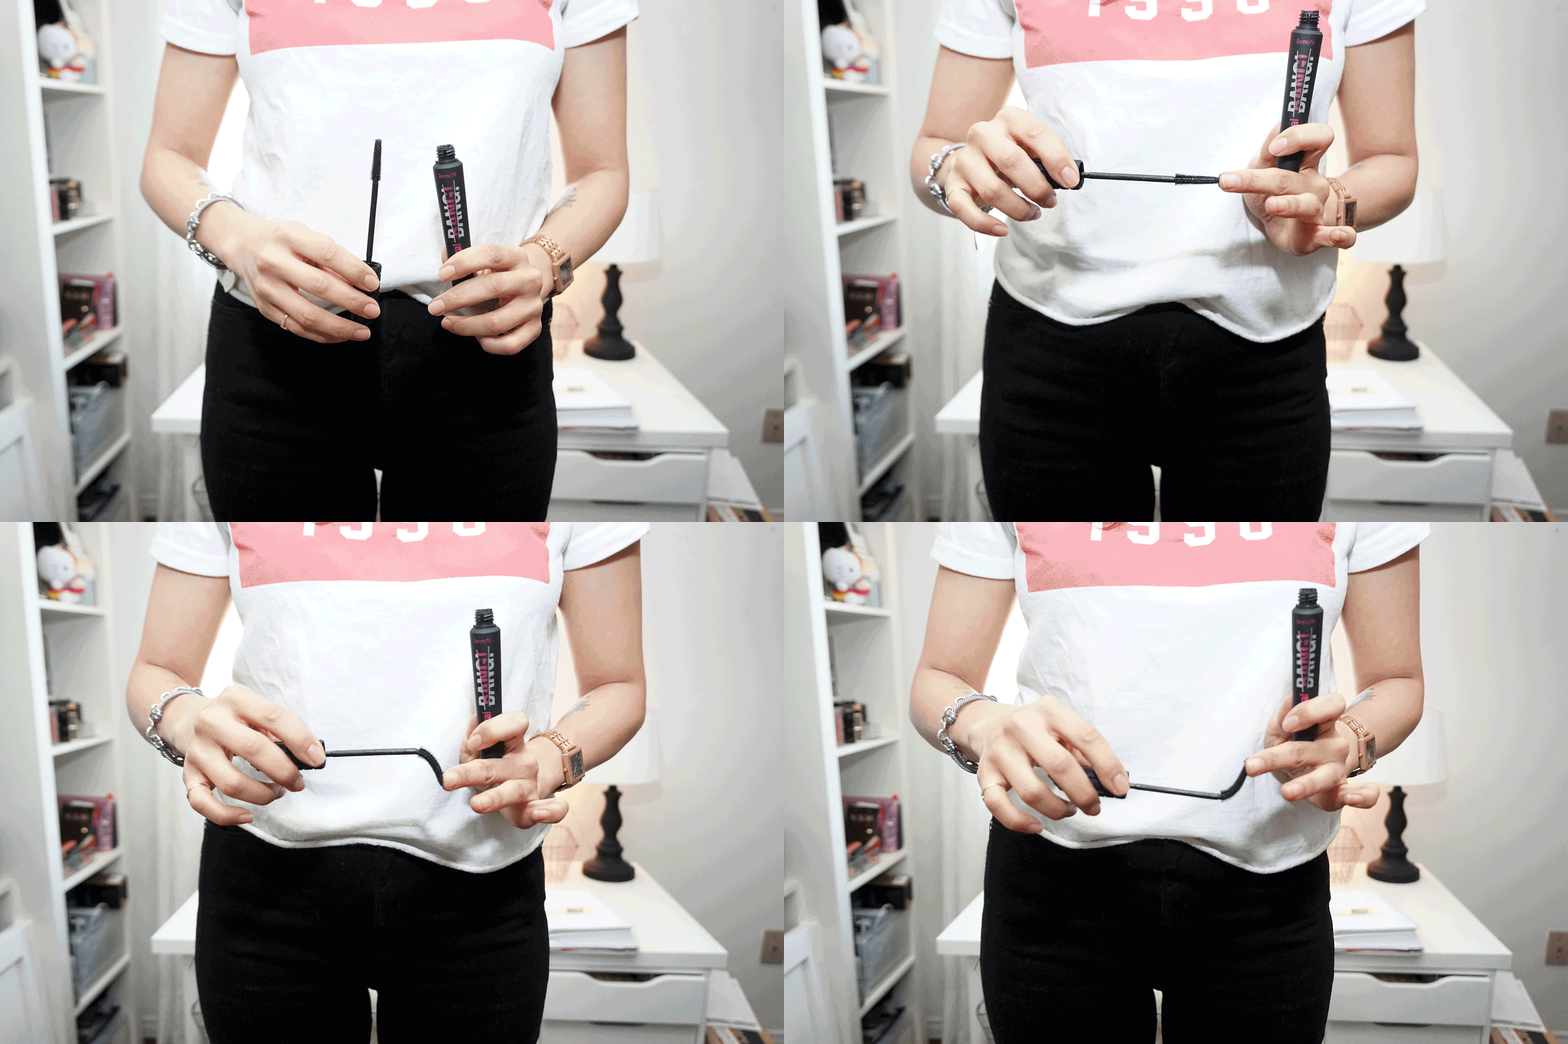
First, here's what you need to know. Benefit promises intense black colour and massive volume in this mascara. It contains aero-particles, "which are one of the lightest known materials, derived from space technology". The brand claims the particles won't weigh down lashes, even after multiple coats. The slender, flexible brush is designed to coat lashes evenly, from root to tip, and fits comfortably into the corners of the eyes. The formula is said to be smudge proof, water-resistant (not to be confused with waterproof) and contains provitamin B5 "to support natural lash thickness and strength."
Okay, that's a lot of claims.
Alright, here's what I have to say after one use.
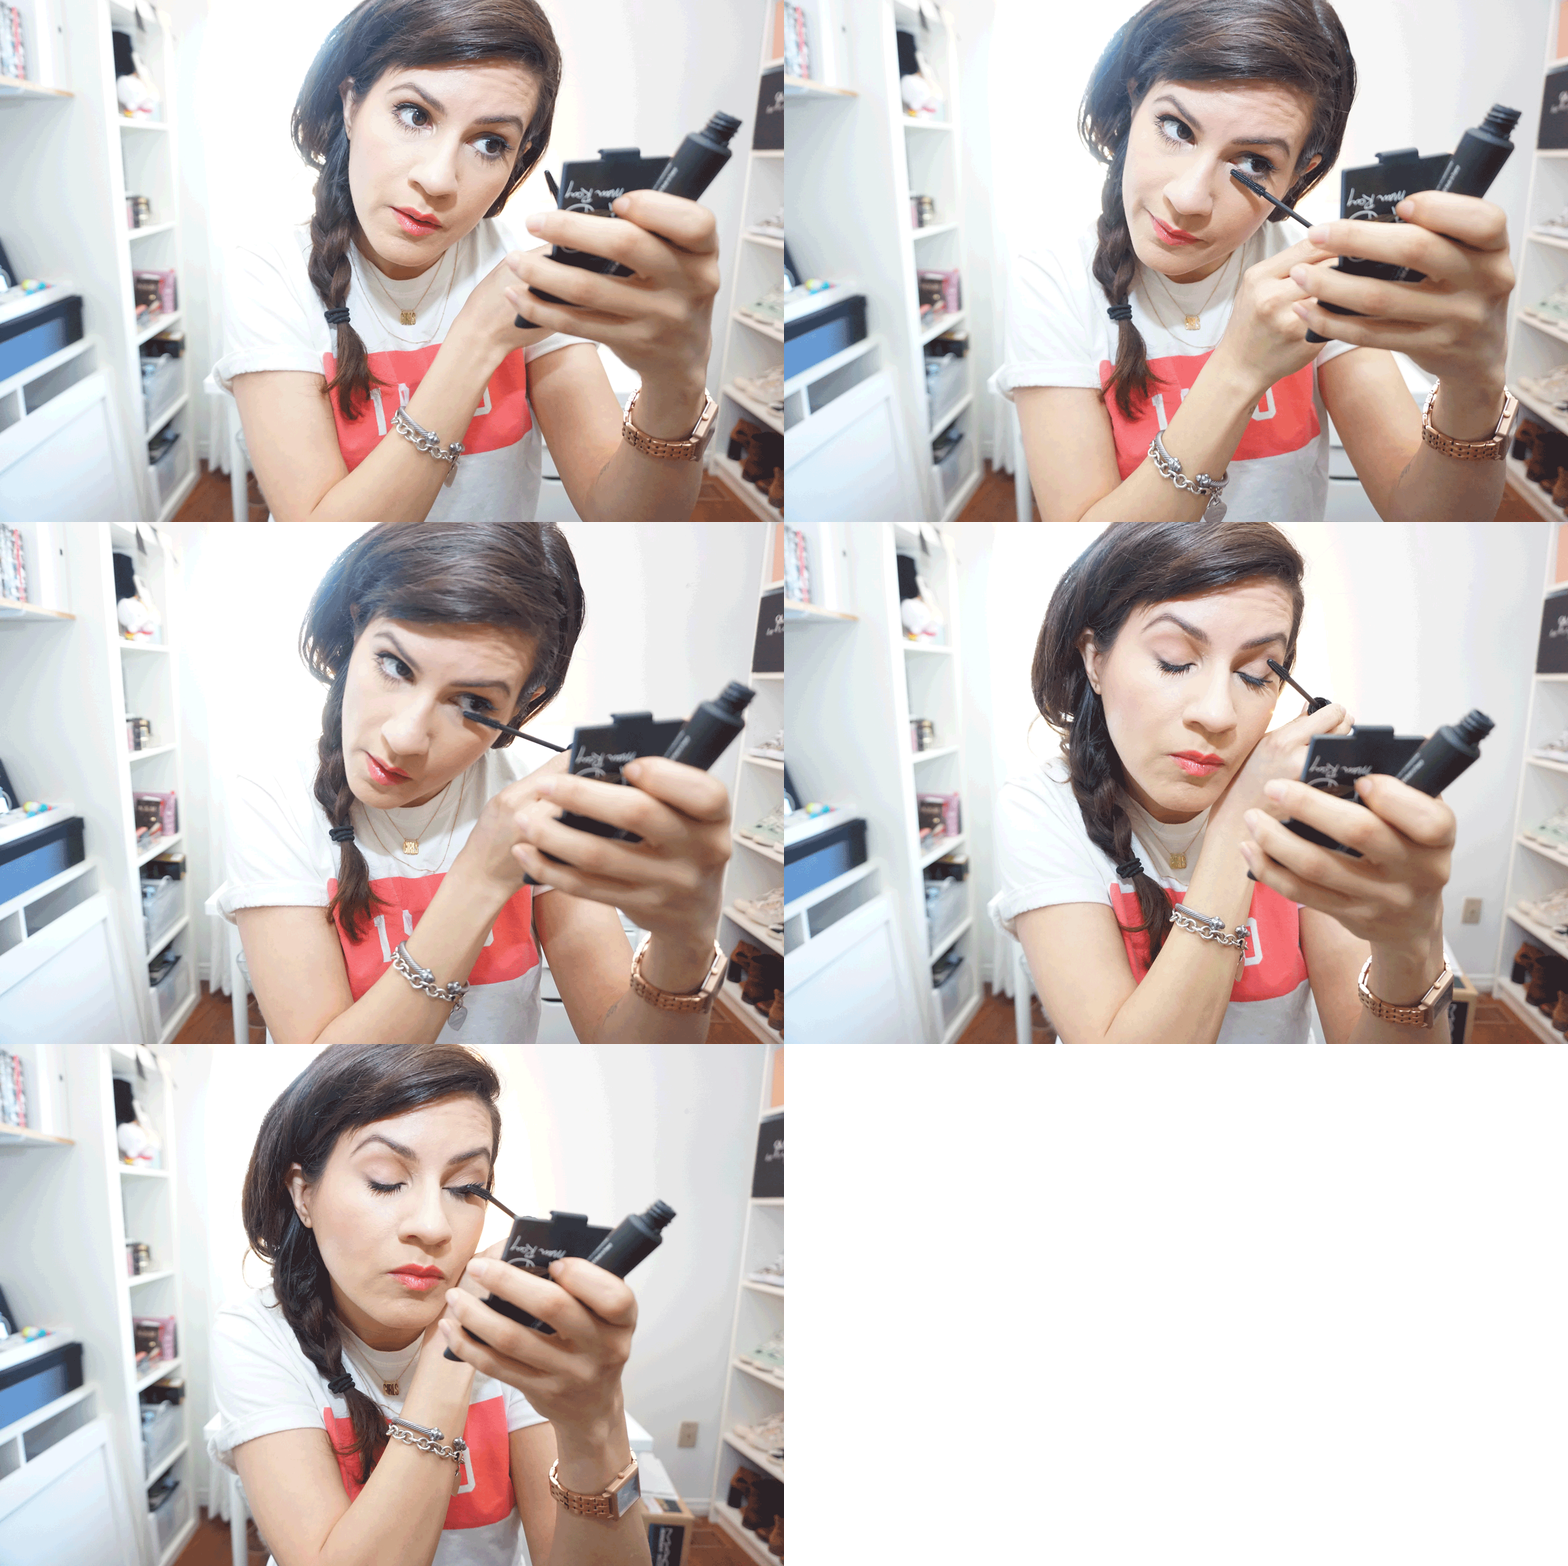
I'll agree with the brand about having my lashes coated evenly. With just the first swipe of the brush, my lashes were looking thicker and longer.
Now, normally I hate slender mascara wands because I find they don't do the greatest job at providing volume, but that wasn't the case with BADgal. The flexible brush didn't feel inferior upon application and overall, I was pretty surprised/happy with the results.
After a full day of wear, I did have some smudging on my lower lash line. This happens to me with almost every mascara though (with exception of CoverGirl and Dior), because I have long lower lashes. (Boohoo. I know.) Otherwise, no clumping or flaking.
Washing it off at the end of the day was easy. I did my double cleanse as per usual - milky cleaner first, followed by Olay Infusion Hydrating Glow Facial Cleanser and my trusty organic cotton face cloth from Muji. No traces of mascara were left over and it wasn't hard to get off either.
Overall, I'd say BADgal is a fabulous mascara. Probably my favourite from the brand so far.
Two thumbs up Benefit! You did good!
DISCLAIMER: Benefit's BADgal mascara was provided as a PR sample. All photos and opinions are my own.
The Fail Proof Way to Cover Up Dark Under Eye Circles
There's nothing worse than a sleepless night only to have to wake up the next morning and deal with covering up those dark undereye circles. I mean, the last thing you want is for your colleagues to sit across the boardroom wondering why you look so exhausted right? Or, maybe you're like me, and no matter how much sleep you get you still have dark under eyes! Regardless, you're here because you want to know how to cover them up and I want to tell you how. I've been batting with dark under eyes since I was a teen and I like to think of myself as a bit of an expert on the matter of concealing them. Below you'll find the best concealers and fail-proof methods in covering up dark under eye circles.
Best Concealers For Covering Up
Dark Under Eye Circles
BECCA Under Eye Brightening Corrector
Colour Corrector
This peach coloured concealer is your first step. Your primer if you will. The peachy tone helps cancel out the blue undertones in your undereye circles. Use it after eye cream and before your regular concealer by patting it on the darkest areas using your ring finger.
Laura Mercier Secret Concealer
Medium-Full Coverage
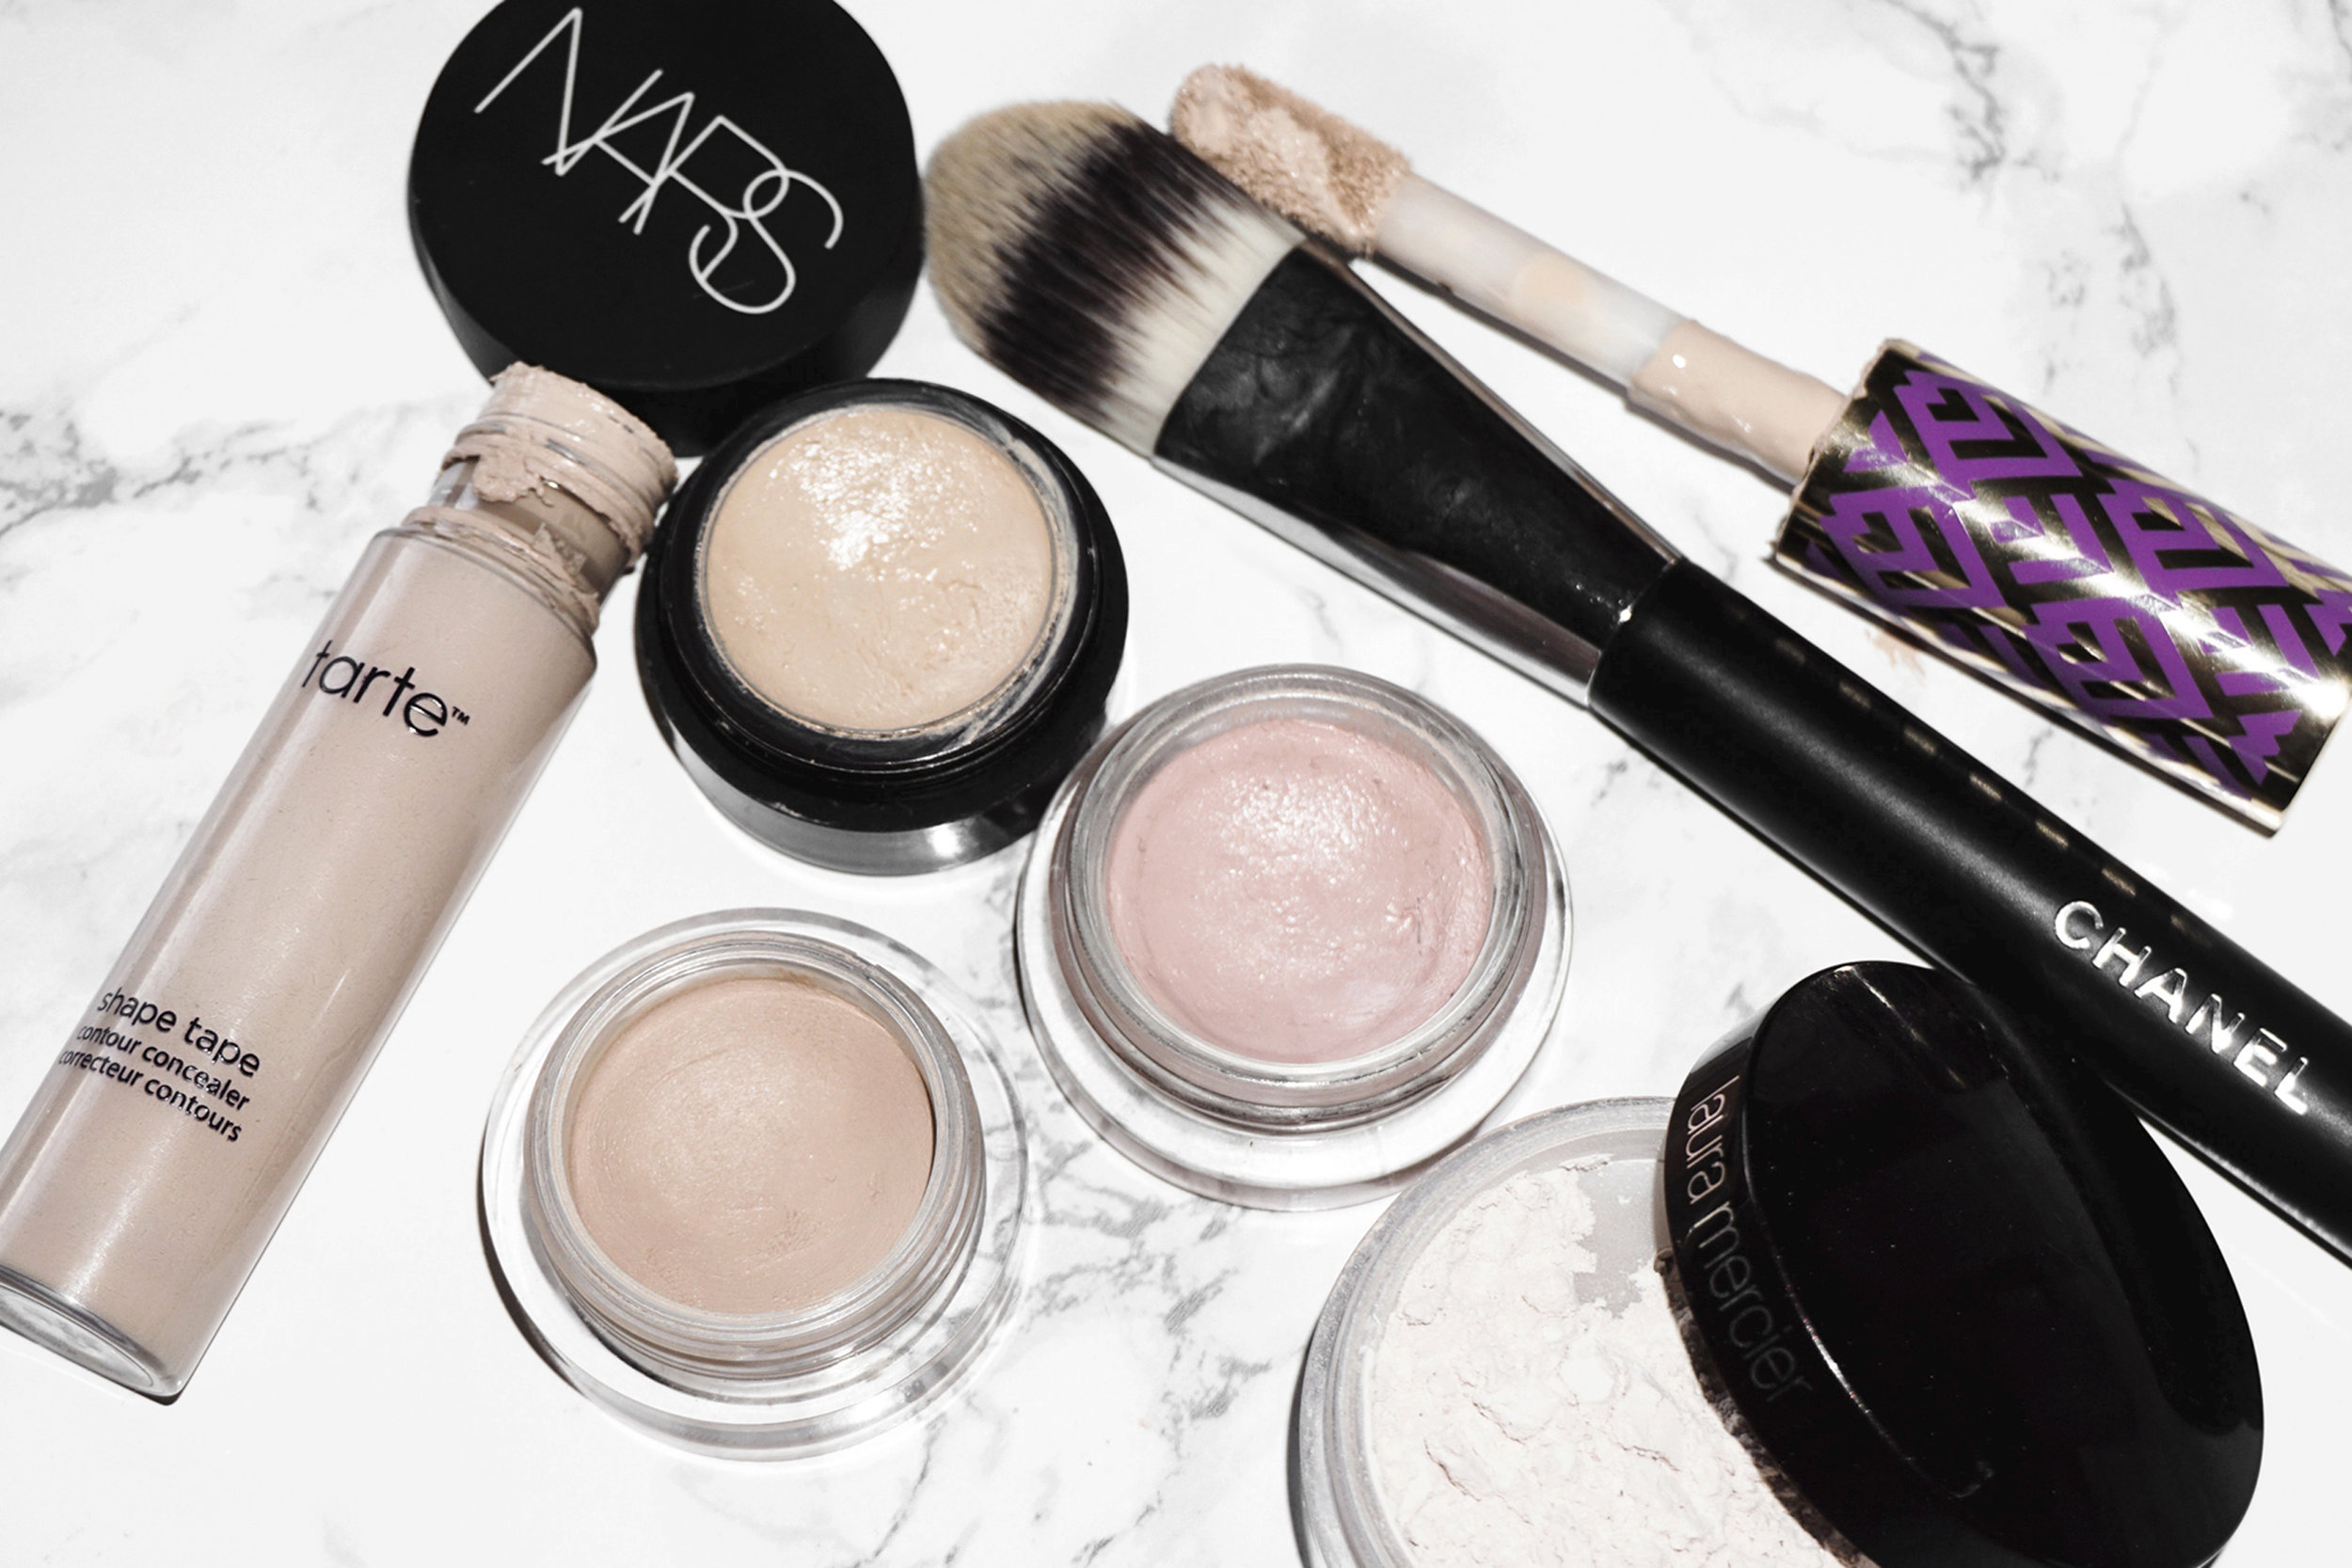
Those with drier skin will love this creamy concealer. It's the one Makeup by Mario recommended in the Master Class I attended this summer and it's the one I've had in my makeup bag for months now. I like to apply this one with a concealer brush and layer it bit by bit so it covers up the darker areas.
NARS Soft Matte Complete Concealer
Full Coverage
This concealer is drier than the Laura Mercier one (mentioned above) and it's better suited for normal-oily skin. The formula is full coverage and it's great to use when you're in a rush in the morning since it gets rid of dark undereyes quickly. Best of all, it lasts all day.
Kat Von D Lock-It Concealer Creme
Full Coverage
If you prefer creme over pot concealers then you're going to love the following three. KVD makes an amazing one in an array of skin tones that's full coverage and easy to work with. This full coverage formula applies great with a Beauty Blender or fingers and doesn't crease.
Tarte Shape Tape Contour Concealer
Full Coverage
Similar to KVD's concealer in terms of coverage and texture, this one is available only in the US right now but you can always order it through ulta.com fellow Canadians. I love the full coverage formula and how it doesn't budge, but I could do without the weird chemically odor. Maybe that's why it's not sold in Canada. Hmmm....
NARS Radiant Creamy Concealer
Medium-Full Coverage
This iconic concealer is probably one of the brands best-selling product. If I remember correctly, one of my contacts from the Nars head office told me that a Creamy Radiant Concealer is sold around the world every minute. Wait, or was it second? Anyway, it totally makes sense because this medium-full coverage concealer is buildable and excellent for covering up dark circles.
The Best Way to Get Rid of Dark Under Eyes
Pay close attention because getting rid of dark circles isn't difficult by any means. It doesn't have to take long and you don't even have to use any of the concealers mentioned here but what matters most, in all absoluteness, is the application method. Adding a thin layer of concealer little by little will build up the coverage where you need it most without the cakiness or creasing.
Hydrate Those Eyes!
Start by hydrating your under eyes. Olay's Ulitmate Eye Cream is ridiculously hydrating without being oily and it has illuminating flecks in it to brighten things up.
Don't Skip The Foundation
If my under eye circles are particularly bad, I like to use a medium to full coverage foundation first with a drop of MAC's Strobe Cream. The foundation helps even out my skin tone, while Strobe Cream helps illuminate my skin. It's the perfect recipe for natural, dewy looking skin.
Prime Those Under Eyes
Using a peach (for fair-medium skin) or red (for medium-dark skin) concealer first will help colour correct the blue in your under eyes. Without it, it'll be more difficult to cover up dark circles so trust me, use that colour corrector.
Conceal, Conceal, Conceal
By now you'll notice your dark circles are looking much better but there's still work to be done. Using a brush (for more coverage), dab your under eyes with concealer and blend with your fingertips. The warmth of your fingers will help blend the makeup into your skin so it looks flawless. It might also take remove some concealer along the way which is why you'll want to work in layers and add more concealer back in where you need it. Do this until you're happy with the results.
Ready, Set, Go!
Time to lock that concealer in! There are two ways you can do this depending on the effect you want and how much time you have. Method one is the quick and easy way and more natural - dip a small fluffy brush into Laura Mericier's Secret Brightening Powder and pat over top of the concealer to set. This powder is at pricey at $31 for a small container, but it's light reflective properties and weightless formula is what makes it ideal for the delicate under eyes.
Method two will give you more flawless results and trust me, your makeup will not fade or crease one bit. It's called baking and what you want to do is take a damp sponge and dunk it in your LM powder and pat it on your under eyes. Build that powder up and let it sit for about 5 minutes as you work on your eyebrows before sweeping it away with a fluffy brush.
That wasn't too bad right? With practice, you'll be able move through these steps in no time and most importantly, no one will ask if you're tired. ;)


